I have gotten permission to modify and publish portions of a support article from Web Hosting With $1 (WHW1.com).
Disabling And Enabling All WordPress Plugins Via The Database
If you start having problems with your Wordpress website, like the site shows blank, or worse, your WordPress admin login page is only showing a blank screen, it could be due to an issue with one or more plugins that are installed into your WordPress site. This can be due to a plugin that is not compatible with the currently installed theme. It can also be related to the version of WordPress having been recently updated, but the developer of the plugin has not provided an update to be compatible.
You are able to determine if a plugin is causing the issue by disabling all plugins temporally.
1) Determine Name Of Your WP Database
Find out which database is associated with your WordPress installation. If you have more than one WP installed site, then it is important that you get the correct database name for the WordPress site that you want to change. These instruction help you determine that database name, and it is specifically for using cpanel:
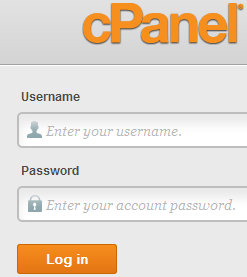
- Log into your hosting control panel, cPanel.
- Select the File Manager icon.

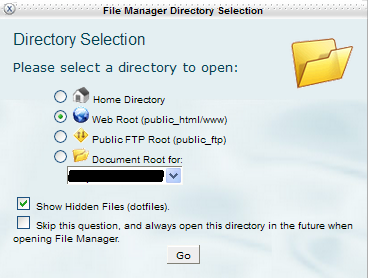
- Check the box to show hidden files and, select website root (public_html).
- Click Go.
- Inside File Manager, select the the wp-config.php file; if done correctly, it will highlight.
- Right-click and select Code Edit.

- Next, click Edit.
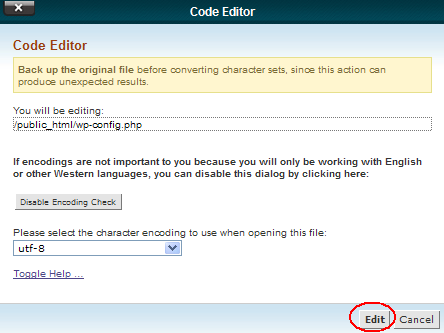
- Make note of the database name by looking for a line that looks similar to this:
define('DB_NAME','domain_wrdp1')
Domain could be a form or portion of the actual domain name or your cPanel username. In this example, the database name is domain_wrdp1.
2) To Disable All Plugins
- Go to cPanel main page.
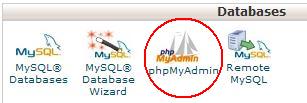
- Click on the phpMyAdmin icon to open it.
- On the left-hand menu, select the database name you determined from the above instructions. If you only have one database, such as only one WP site, then there will be nothing to select on the left menu because it will automatically select the single database, and you can go to the next step.
- Click wp_options.
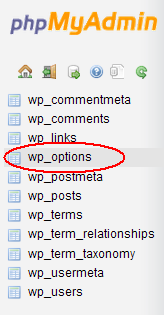
- In the options table, find the option_name column and locate active_plugins line. (If you need to, click on the > at the bottom of the page to view more columns.)

- On the line of active_plugins, click edit. You will see something similar to this:
a:3:{i:0;s:19:"jetpack/jetpack.php";i:1;s:37:"mojo-marketplace/mojo-marketplace.php";i:2;s:27:"wp-super-cache/wp-cache.php";} - Highlight the entire content of the field box, and copy it onto a safe place first. Such as a text file on your local computer, and then delete it from the box.
- After deleting the table content, click Go.
Congratulations! You have now disabled all plugins, BUT they are still installed and still have all their option settings.
3) Determine The Problem Plugin
To determine which plugin is causing the problem, enable each plugin one at a time, following the instructions below:
- Go to your WordPress admin login page and refresh/reload the page.
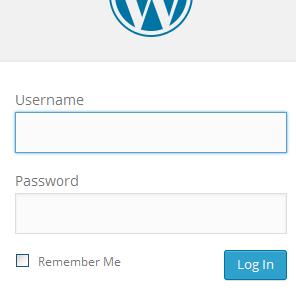
- Log in to your WordPress site.
- Go to Plugins >> Installed Plugins.
- Enable one plugin.
- Go to your website and refresh the page.
- If the problem reoccurs, then you have determined the problem plugin, otherwise repeat steps 4 and 5 until you encounter a plugin that causes the previous problem with your website.


